Settings
Configure your branches, business hours, payment methods, currency, appearance, and account security
Settings is where you control the core configuration of your salon. Click Settings in the left menu to get started.
Settings is accessible to admin users.
Branches
Settings → Branches
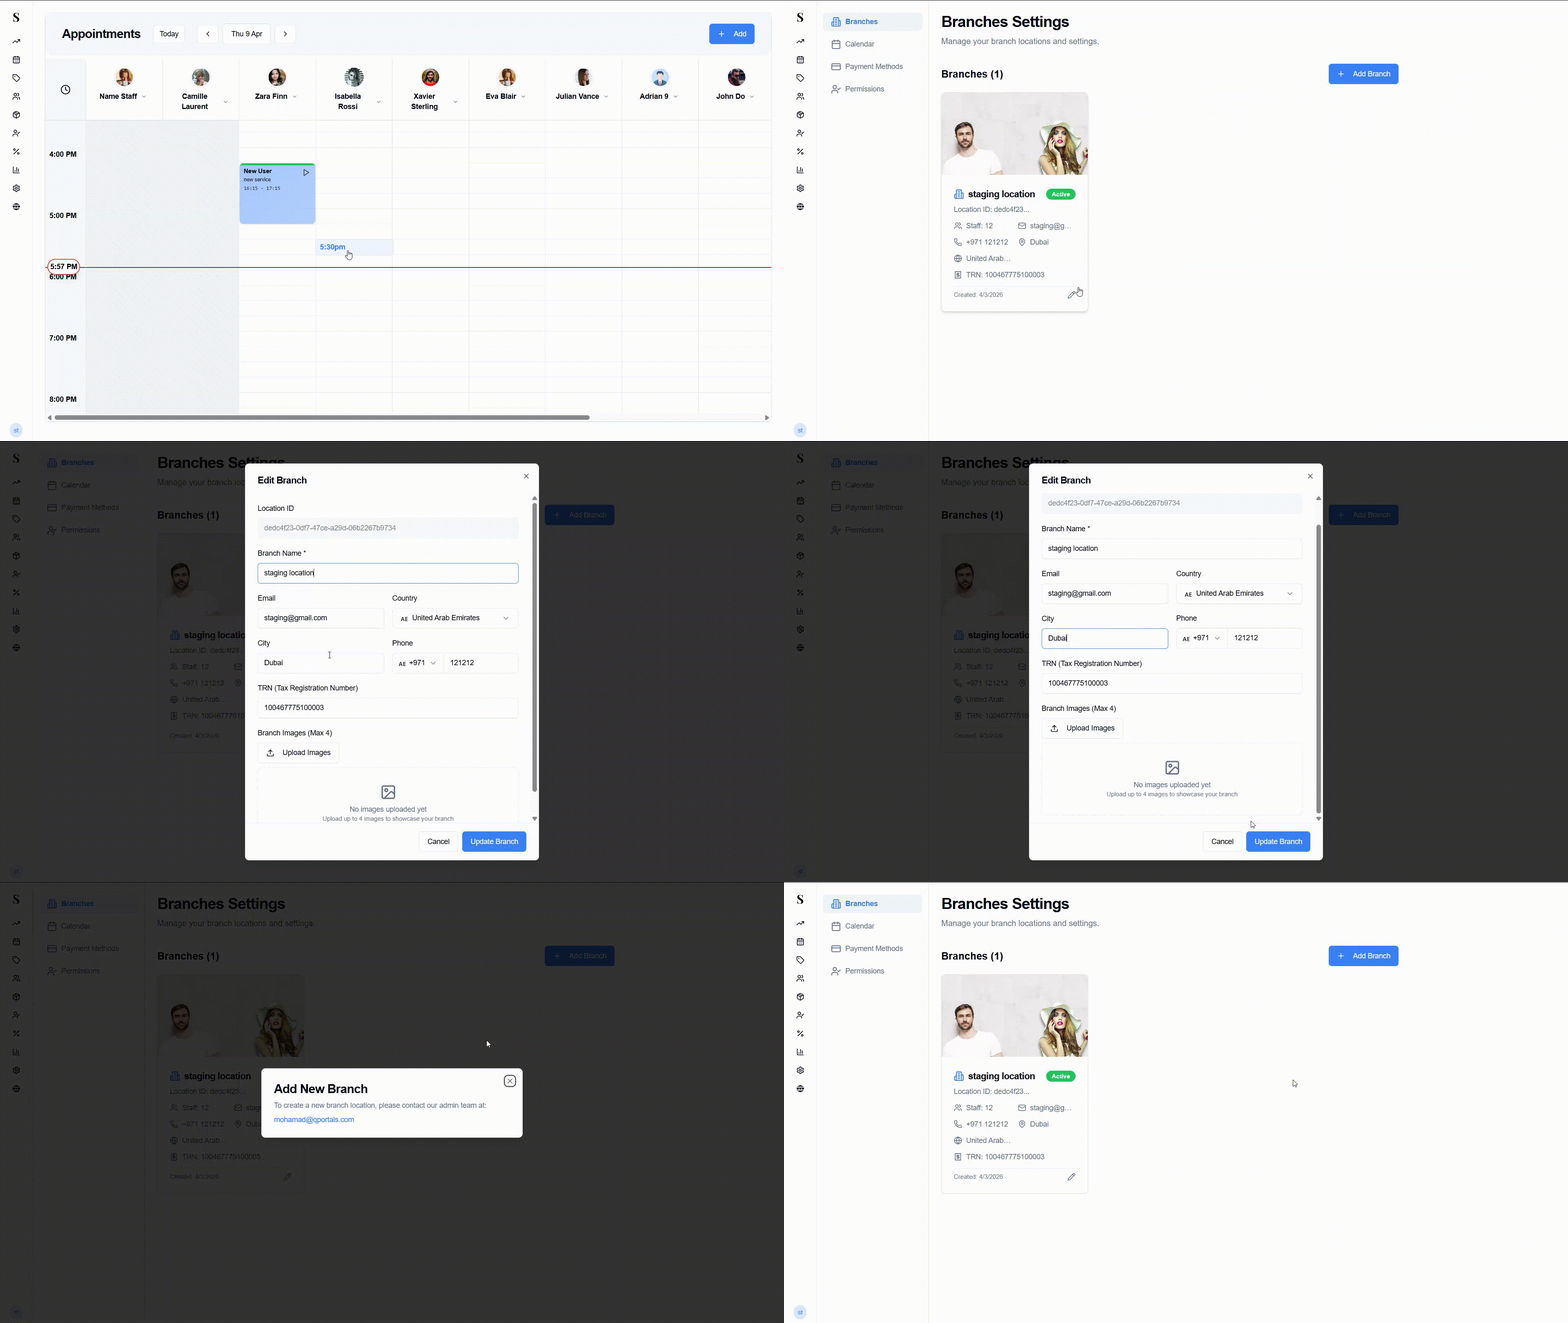
The Branches page shows all your salon locations. Each branch is displayed as a card showing:
- Branch photo
- Branch name and Active status badge
- Location ID
- Number of staff assigned
- Contact email and phone
- City and country
- TRN (Tax Registration Number)
- Date the branch was created
- A pencil icon to edit the branch
Editing a branch
Click the pencil icon on any branch card to open the Edit Branch form.
Fields you can update:
- Branch Name (required)
- Country (with flag selector — supports UAE, Saudi Arabia, UK, USA, New Zealand, and more)
- City
- Phone (with country code selector)
- TRN — your Tax Registration Number, printed on invoices
- Branch Images — upload up to 4 photos to showcase the branch (shown on the card)
Click Update Branch to save.
Branch logo & VAT settings
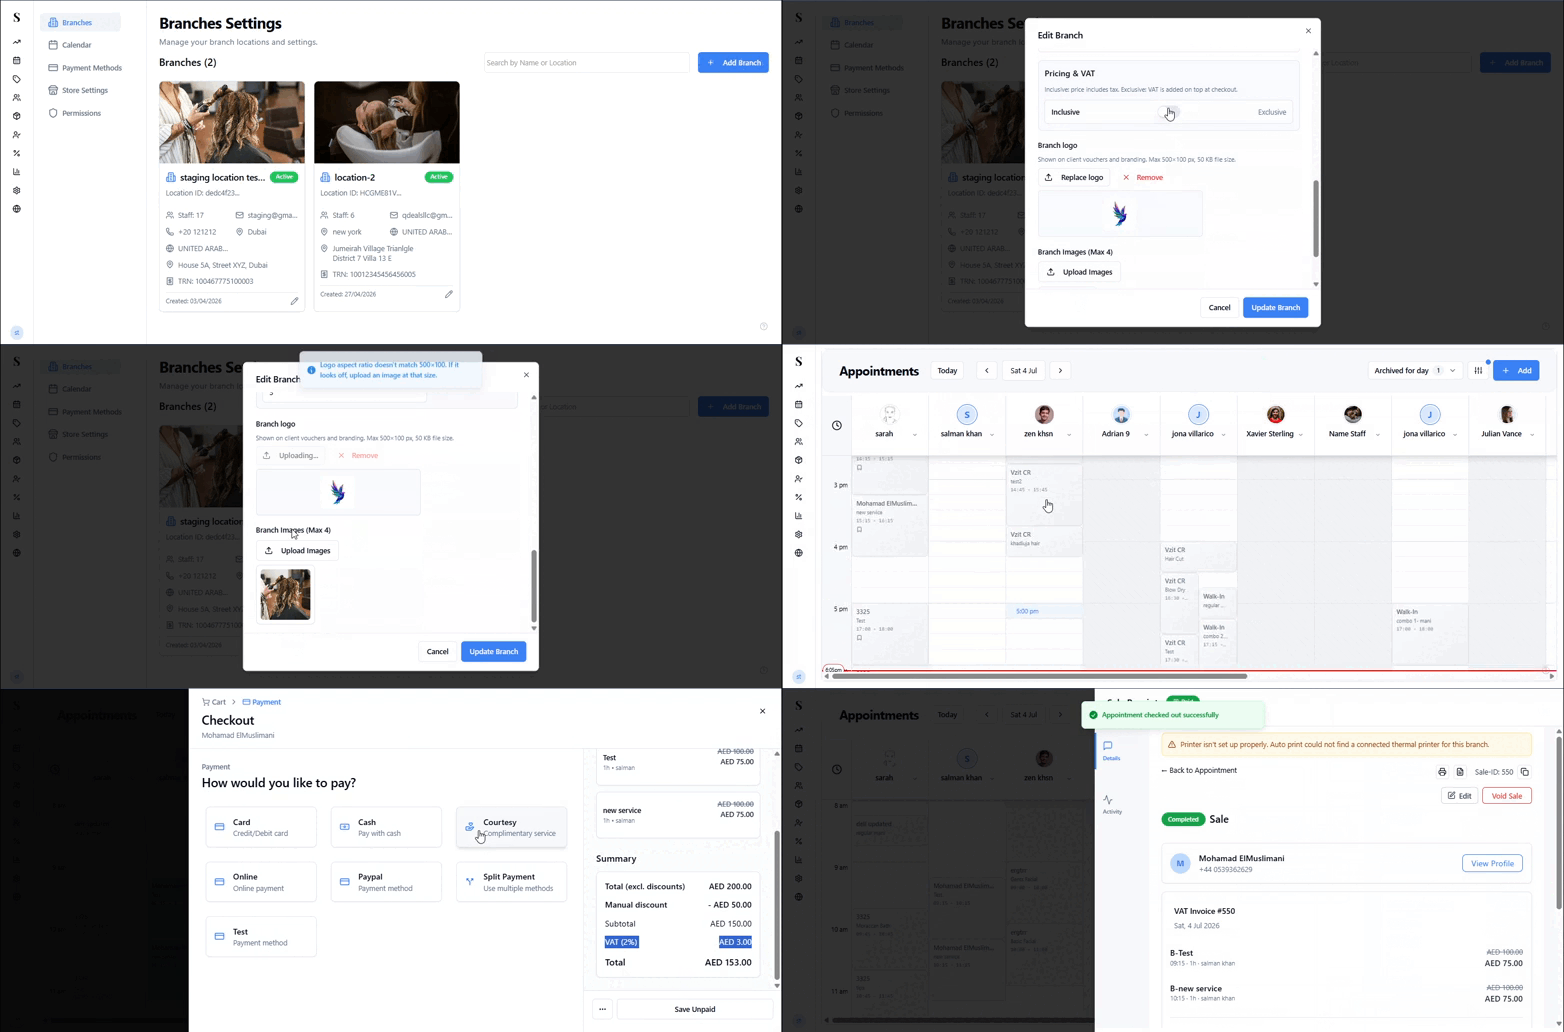
You can upload a distinct logo for each branch to print on thermal receipts and standard invoices.
Each branch can also toggle between VAT Inclusive (prices on calendar and price menu already include VAT) and VAT Exclusive (VAT is added separately at checkout).
Calendar
Settings → Calendar
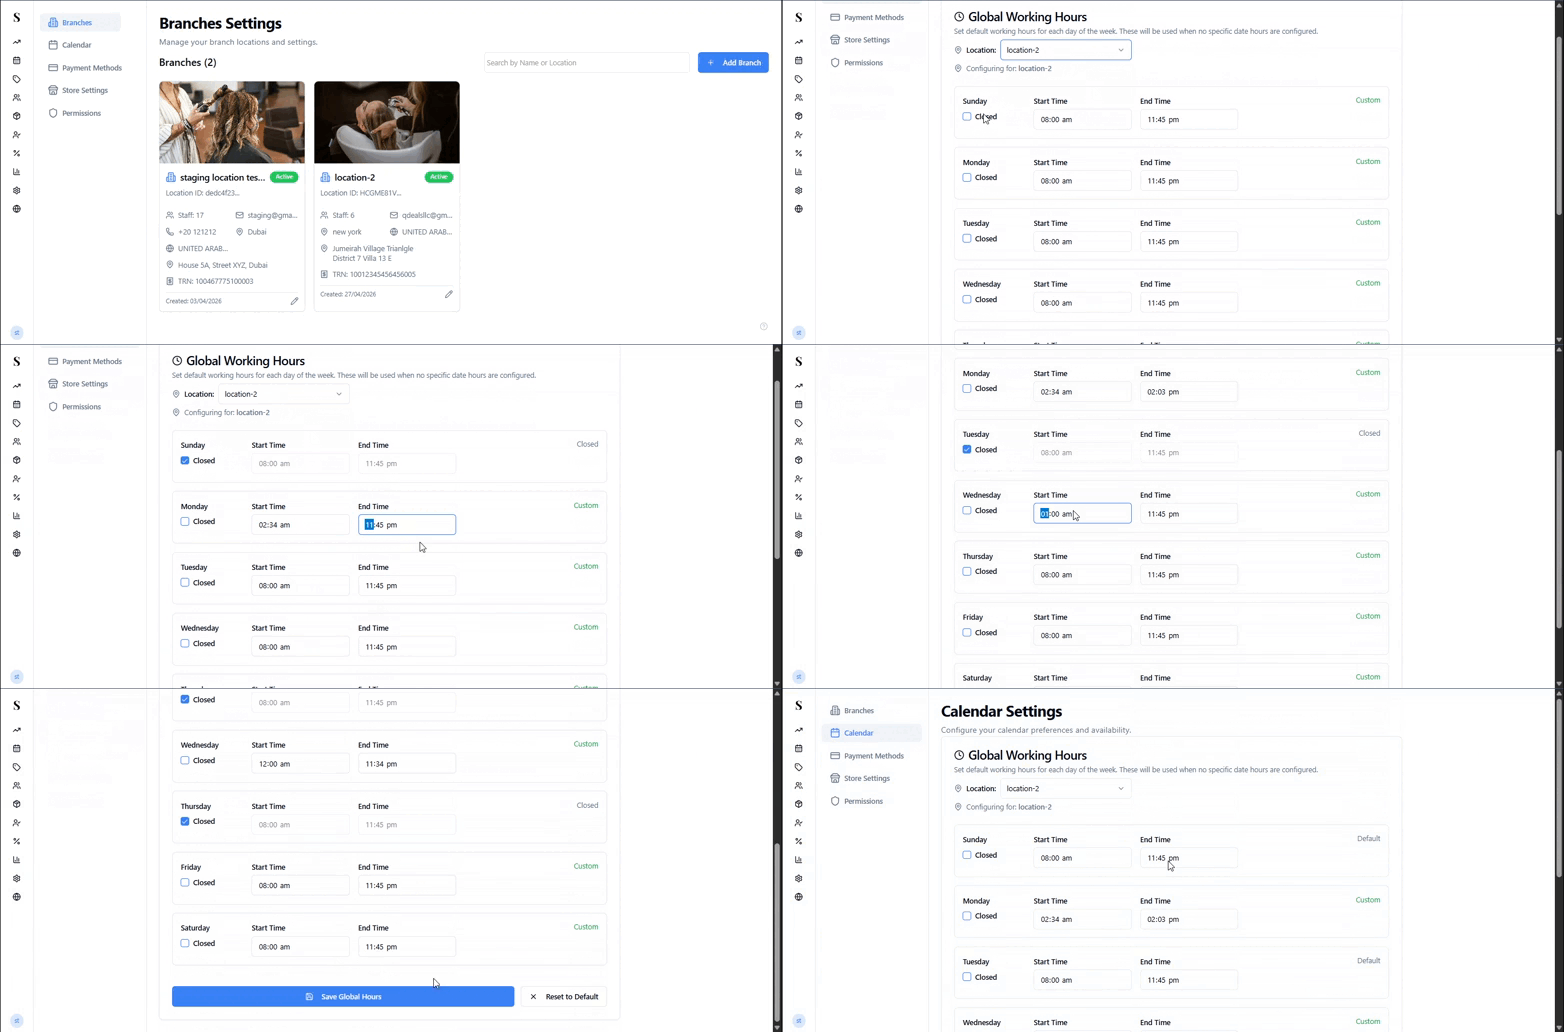
Set your salon's Global Working Hours — the default opening and closing times that appear on the Calendar for all staff across each day of the week.
Payment Methods
Settings → Payment Methods
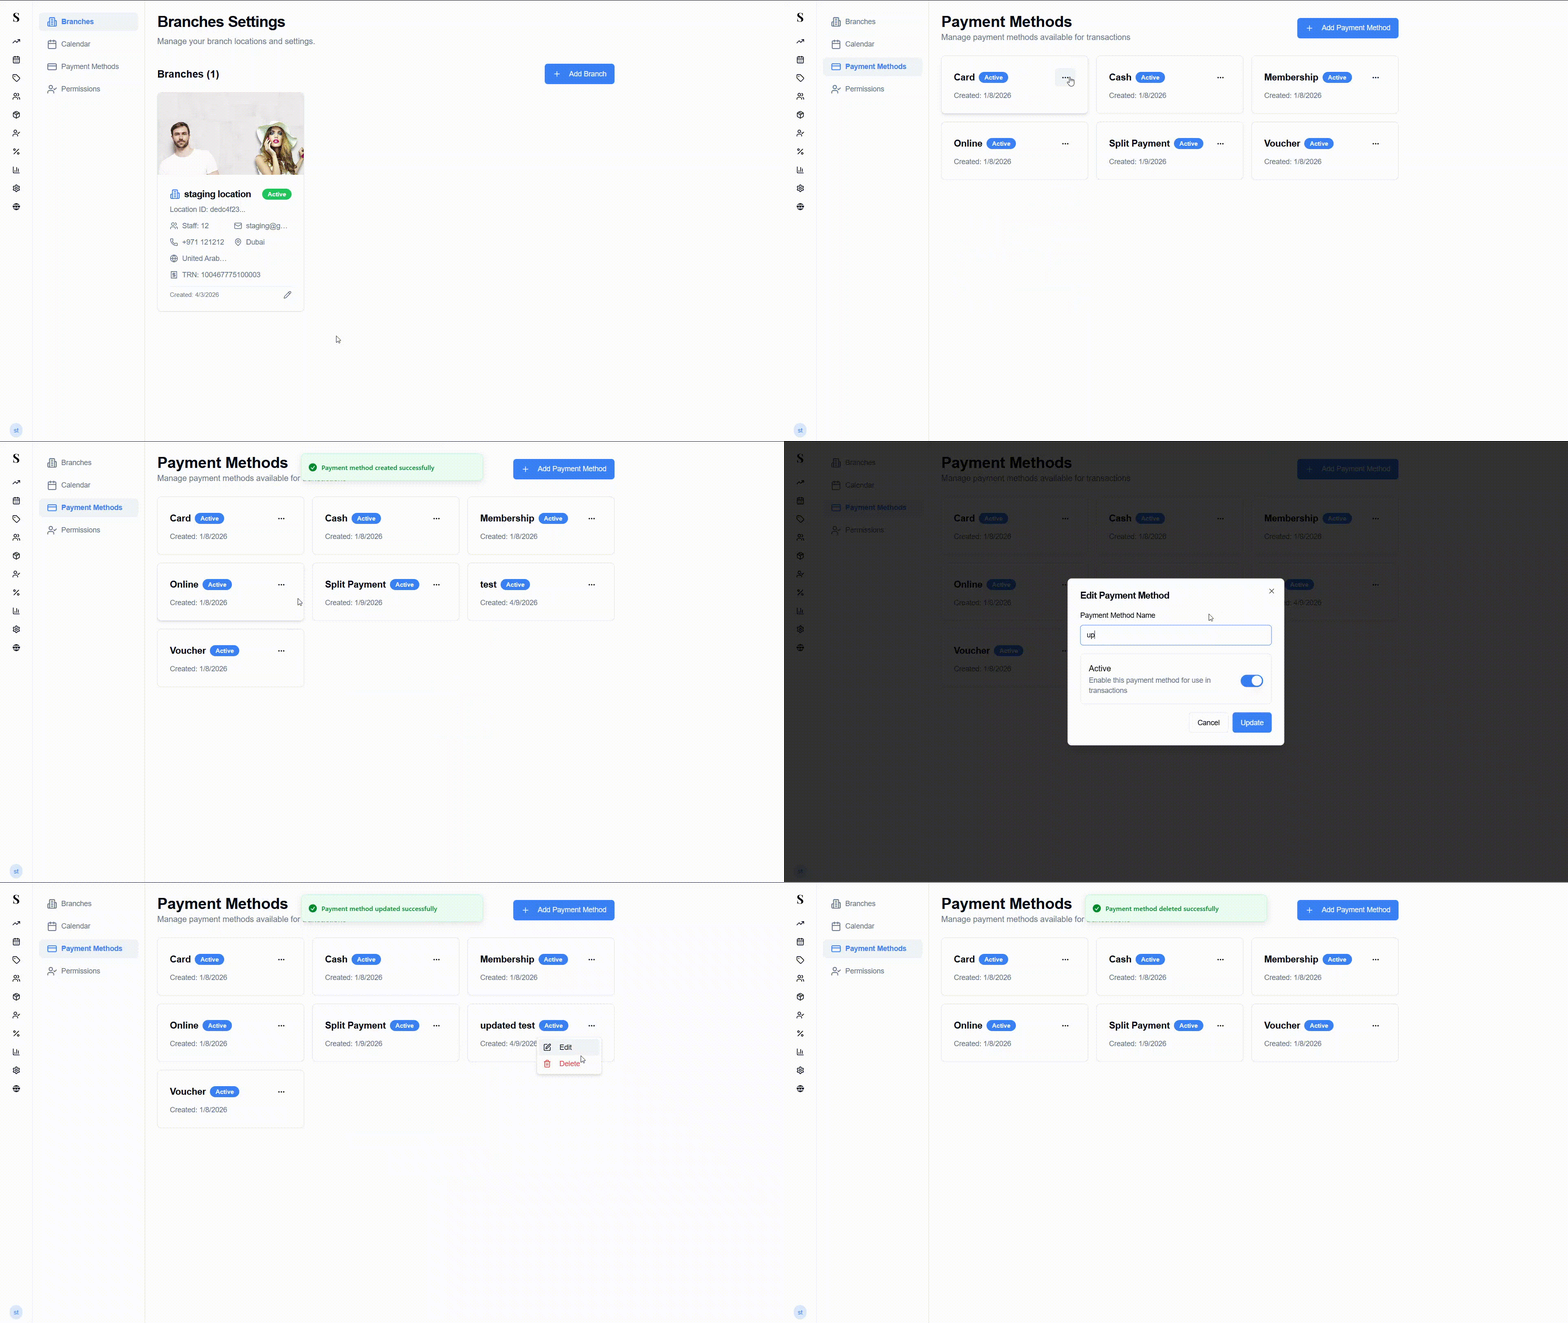
Configure the payment options available at checkout.
Payment Method Badges
Payment methods are organized with clear classification badges:
- System Methods: Built-in core tenders (Card, Cash, Online, Split Payment, Voucher, Membership) with automated accounting and balance mechanics.
- Standard / Custom Methods: Custom payment types added specifically for your business (e.g. Bank Transfer, Cheque).
Adding a payment method
Click + Add Payment Method, enter a name, and save. The new method will immediately be available at checkout.
Appearance, UI Scaling & Dark Mode
You can customize the display to match your front-desk setup:
- Zoom Slider: Click the magnifying glass icon in the top toolbar (next to the + Add button) to open the Text Size panel, then drag the Zoom slider to scale fonts and buttons across all screens — the panel shows a live percentage as you drag. Ideal for touchscreen tablets and high-resolution POS terminals.
- Theme Toggle (Light & Dark Mode): Switch smoothly between light and dark themes to reduce eye strain during evening shifts.
Online Booking Availability
Settings → Store Settings
These settings control which time slots are bookable on your online booking page. They live in Store Permissions, not Online Services, and are per branch.
Select the branch you want to configure.
Scroll down to Online Booking Availability.
There are three settings:
- Hide Slots Already Booked In POS: When on, online booking checks each staff member's POS calendar and hides time slots that overlap an existing appointment.
- Minimum Booking Notice: How far in advance a same-day slot must be before a client can book it online — the waiting time between now and the earliest appointment that can be created.
- Notice Grace Period: Still allows a slot that misses the minimum notice by this many minutes. For example, with a 30-minute notice and a 5-minute grace period, at 1:01 pm the 1:30 pm slot stays bookable.
Make sure you're on the correct branch before changing these — see Store Permissions.
Example: Hide Slots Already Booked In POS is on, Minimum Booking Notice is 15 minutes, and Notice Grace Period is 5 minutes. Sarah has existing appointments from 6–7 pm and 8–10 pm, so 7–8 pm is her only open window and clients can book anywhere in it online. Because the minimum notice is 15 minutes, a slot as soon as 15 minutes from now can also be booked. And because of the 5-minute grace period, a slot up to 5 minutes inside that 15-minute window still shows as bookable, rather than jumping to the next 15-minute interval.
Password Management & Account Security
In-POS Password Change
Admins and staff can update their login password directly inside the POS under Account Settings without needing administrative intervention.
Self-Service Forgot Password Reset
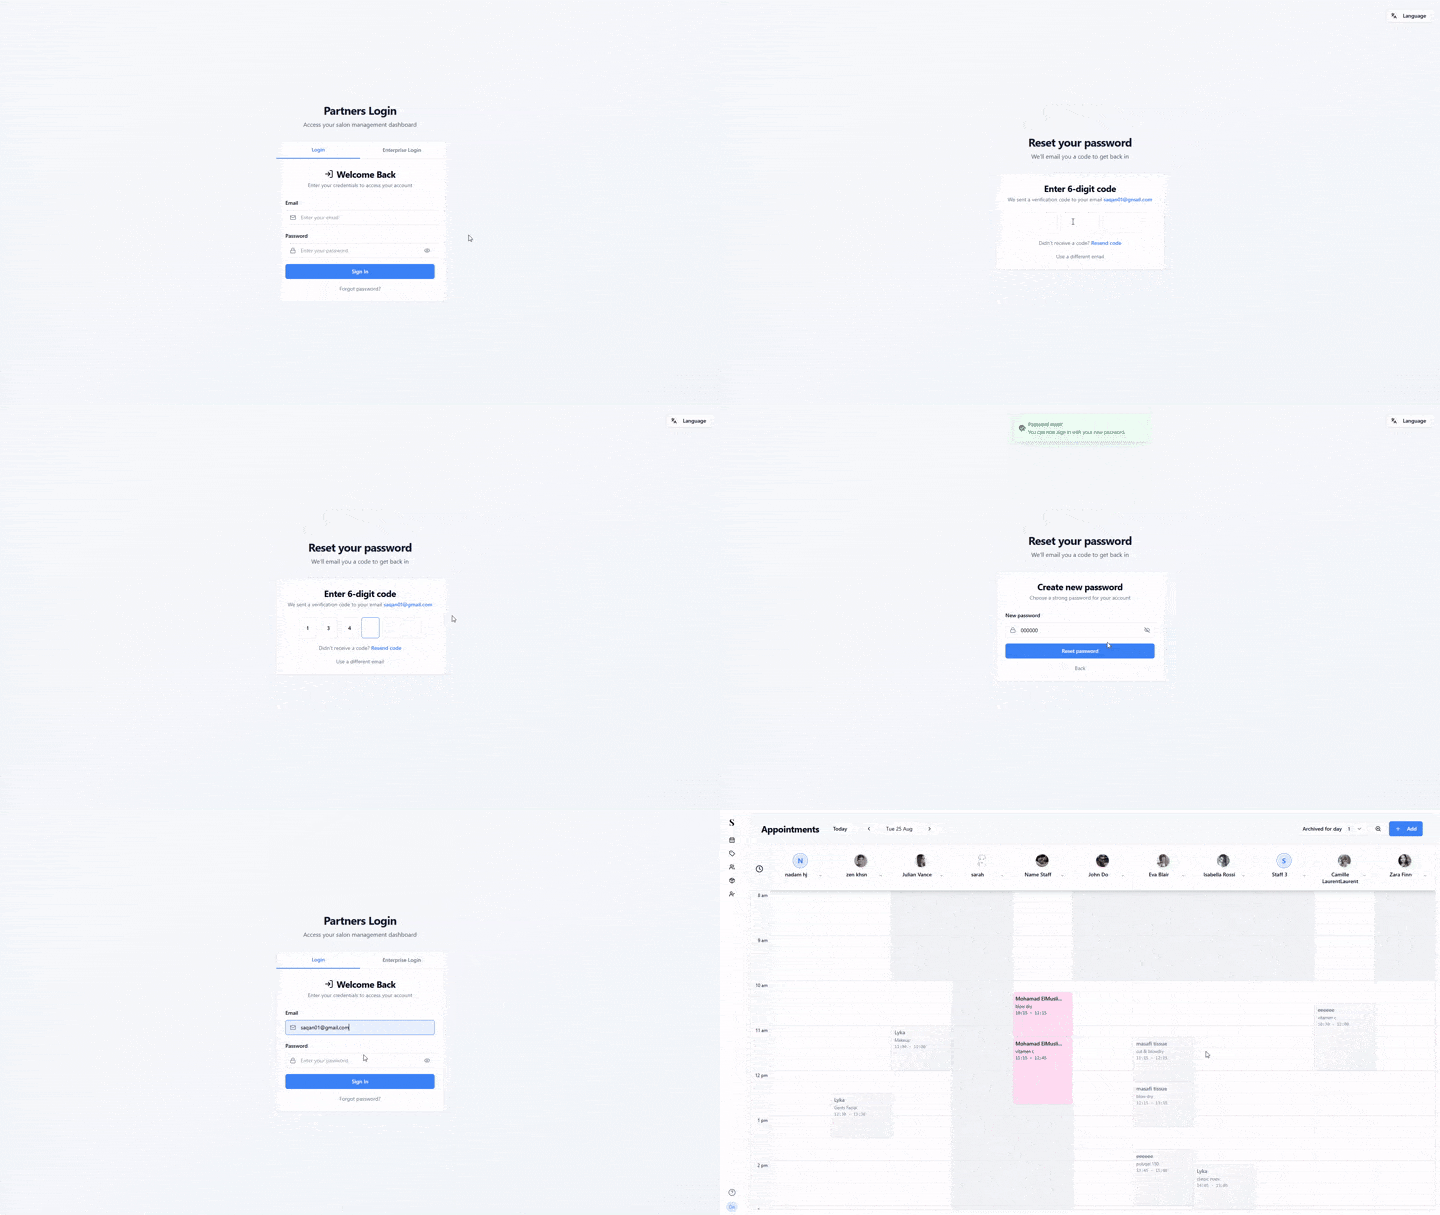
If a staff member forgets their password, they can click Forgot Password on the login screen to open the Reset your password screen. A 6-digit verification code is emailed to their registered address — enter it on the Enter 6-digit code screen to reset your credentials immediately. If the email doesn't arrive, click Resend code, or Use a different email if the wrong address was on file.
Currency & Country Support
Settings → Currency
Each branch automatically formats pricing according to its selected country:
- Currency symbol (AED, SAR, USD, GBP, NZD, etc.)
- Tax formatting and invoice regulations
To change the currency, edit the branch and select the corresponding Country.