Store Permissions
Control how tips, discounts, voiding, notes, and receipts behave across your store
Store Permissions are the rules that decide what your staff can and can't do at the checkout, on appointments, and on printed receipts. Each setting is a simple on/off toggle that takes effect across the whole store once saved.
To change any of the settings on this page, go to Settings → Store Settings, toggle the option you want, and then reload the NxCut staff app (or return to the home screen) so the change is picked up.
These settings are per location. Make sure you're on the correct branch before toggling anything.
Allow Voucher Usage for Tips
This setting decides whether a voucher can be used as the payment method when adding a tip at checkout.
From the Calendar, click an appointment and open the Checkout screen.
Click the ··· (three dots) menu at the bottom of the checkout screen and choose Add Tip.
In the tip window, open the Payment Method dropdown. If Enable Voucher Tips is turned on in store settings, Voucher will appear as an option. If it's off, Voucher will not appear in the dropdown.
To change this setting: Go to Settings → Store Settings and toggle Enable Voucher Tips on or off. Reload the staff app to see the change.
Accept Tips Online Only
When turned on, the Add Tip option is completely removed from the checkout in the POS. Tips will only be accepted through online bookings — staff working at the front desk won't be able to add a tip to a sale.
Open an appointment and go to the Checkout screen.
Click the ··· (three dots) menu. With Disable Tips in POS turned on, the Add Tip option will not appear. With it turned off, Add Tip is available as usual.
To change this setting: Toggle Disable Tips in POS in store settings.
Prevent Tips with Manual Discount

This setting stops staff from applying both a manual discount and a tip on the same sale. It's there to prevent a staff member from discounting a sale and then adding a tip for themselves.
On the Checkout screen, apply a tip from the ··· menu.
Try to apply a manual discount as well. A red warning will appear and the discount option will be blocked. The same works the other way — if a discount is applied first, the tip option is blocked.
When a manual discount is applied, tips are automatically disabled, and vice versa.
To change this setting: Toggle Enforce Mutual Exclusivity in store settings.
Receptionist Can Void Sales
By default, only admin users can void a completed sale. Turning this setting on allows non-admin staff (like receptionists) to void sales as well — but still only for today's sales.
On the Calendar, click on a paid appointment to open the sale details.
If Allow receptionists to void is on, non-admin staff will see the Void Sale button. If it's off, only admins see it.
Admins always have full void privileges regardless of this toggle.
To change this setting: Toggle Allow receptionists to void in store settings.
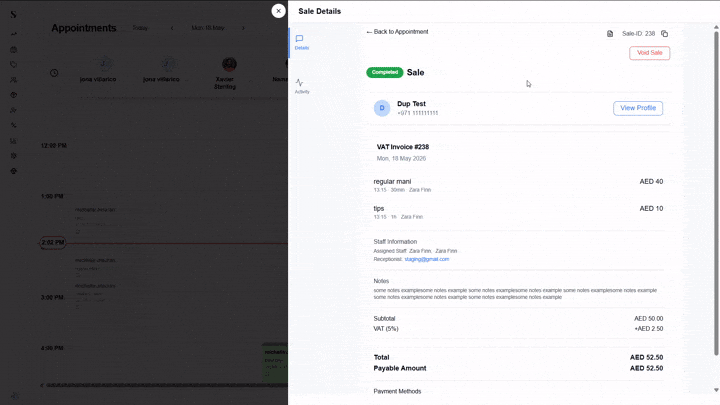
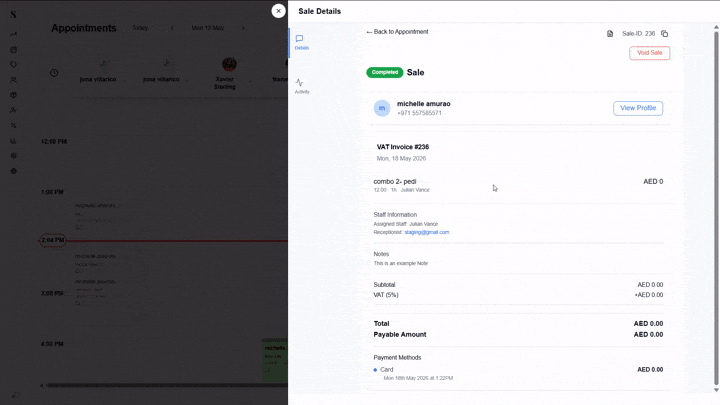
Appointment Notes
When turned on, staff can add a note to any appointment. The note shows up in several places so the team can see context at a glance:
- A small icon on the appointment card on the calendar
- The hover card that appears when you hover over an appointment
- The appointment sheet (when assigning the server)
- The sale invoice
- The appointment card in the client's profile
On the Calendar, click an appointment to open it.
Type into the Notes field and save. The note will now appear on the appointment card, the hover card, and inside the sale invoice for that appointment.
If you turn this setting off after notes have already been added, those existing notes will be hidden across the app — they're not deleted, just no longer displayed.
To change this setting: Toggle Allow Notes per Appointment in store settings.
Receipt Settings
Receipt Settings control the receipt formats your staff can choose from at checkout, and what information appears on the printed receipt. There are several toggles grouped together.
Receipt format toggles
These toggles decide which print options are visible inside the Sale Invoice screen:
| Toggle | What it controls |
|---|---|
| Enable POS Thermal Receipt | Shows the POS (Thermal) 80mm print option in the sale invoice. This is the small receipt printed from a thermal printer. |
| Enable PDF Receipt | Master toggle for all PDF receipts. If this is off, none of the PDF sizes (A4, 80mm, A5) will appear, even if their individual toggles are on. |
| Enable A4 | Shows the A4 size option inside the PDF receipt menu. |
| Enable 80mm | Shows the 80mm size option inside the PDF receipt menu (PDF version, separate from the thermal printer). |
| Enable A5 | Shows the A5 size option inside the PDF receipt menu. |

Use these toggles to keep the print menu clean — turn off any sizes your store doesn't use so staff only see the formats you actually print.
Information on the receipt
These toggles control what details are printed on the receipt itself:
| Toggle | What it does |
|---|---|
| Display Staff Name on Receipt | Shows the assigned staff member's name next to each service on the printed invoice. |
| Display Receptionist Name on Receipt | Shows the name of the receptionist who processed the sale on the invoice. |
| Display Client Number on Receipt | Prints the client's phone number on the invoice. |
Turn these off if you'd rather keep the receipt minimal, or if you don't want client phone numbers printed on paper for privacy reasons.
To change any of these settings: Toggle the option in Settings → Store Settings, then reload the staff app.
Auto Print at Checkout

Automatically transmits the receipt to the designated thermal printer immediately upon completing a sale at this branch.
Setup Requirements & Procedures
Due to browser-level security and communication limitations with local hardware, a brief manual configuration is required prior to enabling this feature:
If you have previously configured and printed manually using the POS thermal receipt format (rather than the PDF 80mm option), the auto-print functionality will operate automatically without further setup.
Configure Browser Print Settings:
Before activating the auto-print setting, open any completed sale invoice and execute a manual print operation. In the system print dialog, select the appropriate thermal printer (typically designated as 80mm Printer, POS-80, or similar) and save this configuration as the default print target for the browser.
Activate the Store Setting: Navigate to Settings → Store Settings and enable the Auto Print at Checkout toggle for your specific location.
Ensure Hardware Connectivity: Confirm that the USB thermal printer is powered on, loaded with paper, and properly connected to the device hosting the client application.
Because web browsers cannot verify the status of external hardware, the application will issue the print command regardless of whether the printer is online, connected, or containing paper. If a receipt fails to print, please verify physical hardware connections, power status, and browser print defaults.
To modify this setting: Toggle Auto Print at Checkout in store settings.
Re-print with Enter Key

Pressing Enter on a completed sale screen re-sends the receipt to the thermal printer. Useful when auto-print misses or staff need a quick reprint.
When this setting is on, any staff member can press Enter while viewing a completed sale to immediately re-print the thermal receipt — no buttons, no menus.
To change this setting: Toggle Re-print with Enter Key in Settings → Store Settings.